
How to Create a Festive Centerpiece with Fresh Flowers for Your Holiday Table
Learn how to create a DIY holiday flower centerpiece using fresh flowers to elevate your holiday table with warmth and style.
The holiday table is where everything comes together. The food, the people, the stories that stretch longer as the evening goes on. And right at the center of it all sits something that quietly sets the mood. A DIY holiday flower centerpiece does more than decorate the table. It creates warmth. It signals care. It says, this gathering matters.
If you have ever scrolled through holiday photos and wondered how those tables look so inviting, the secret is usually simple. Fresh flowers arranged with intention. The good news is you do not need to be a florist to pull it off. Creating a DIY holiday flower centerpiece is easier than it looks, and it gives you complete freedom to match your style, your space, and the holiday you are celebrating.
Whether you are hosting Christmas dinner, a Hanukkah gathering, or a winter get together that blends traditions, a DIY holiday flower centerpiece brings the whole table together in a way store bought decor rarely does.
Why a DIY Holiday Flower Centerpiece Makes Such an Impact
There is something special about creating your own centerpiece. A DIY holiday flower centerpiece feels personal in a way mass produced decor never quite achieves. Even simple arrangements carry a sense of effort and care that guests notice, even if they cannot quite put their finger on why the table feels so welcoming.
Another reason a DIY holiday flower centerpiece works so well is flexibility. You can adjust the size for a long dining table or keep it compact for a smaller space. You can go traditional with reds and greens, soft and neutral with winter whites, or modern with greenery and texture. One centerpiece style can easily shift to fit different holidays or hosting styles.
Cost also plays a role. Creating a DIY holiday flower centerpiece often allows you to get more impact for your budget. Instead of paying for a large pre-made arrangement, you can spread flowers across the table in a way that feels abundant without being overwhelming.
Most importantly, a DIY holiday flower centerpiece creates atmosphere. Fresh flowers soften the space, balance heavier dishes on the table, and add life during a season when everything outside feels a little quieter. According to Better Homes & Gardens, fresh florals are one of the easiest ways to elevate a holiday table without overdecorating
A DIY holiday flower centerpiece does not need to be perfect. It just needs to feel intentional. That is where the magic lives.
Supplies You Will Need for a DIY Holiday Flower Centerpiece
Before you start arranging, it helps to gather everything in one place. One of the reasons a DIY holiday flower centerpiece feels approachable is that the supply list is short and flexible. You can work with what you already have or keep things very simple.
Here is what you will need:
A container: This can be a low vase, a bowl, a tray, a ceramic dish, or even something unexpected like a decorative box or holiday-themed container. Low containers work best for a holiday table so guests can see each other easily.
Fresh flowers: Choose a small mix rather than too many varieties. A few focal flowers paired with supporting blooms usually looks more intentional than trying to use everything at once.
Greenery: Greenery creates structure and fullness. It also makes a DIY holiday flower centerpiece feel lush even if you are using fewer flowers.
Floral foam or a flower frog: This helps anchor stems and makes arranging much easier. If you do not have either, a sturdy vase filled with water works just fine.
Scissors or garden clippers: Clean cuts help flowers absorb water and stay fresh longer.
Optional extras: Candles, ribbon, pinecones, or small decorative accents can be added later once the flowers are in place.
Choosing Flowers for Your Holiday Centerpiece
The flowers you choose will shape the entire look of your centerpiece. The good news is that many winter blooms are hardy, long lasting, and perfect for a DIY holiday flower centerpiece.
For Christmas centerpieces, classic color palettes work beautifully. Red roses, white carnations, amaryllis, winter berries, and evergreen branches feel festive without trying too hard. You can also soften the look by adding cream or blush tones.
For Hanukkah centerpieces, blue and white arrangements feel thoughtful and elegant. White roses, hydrangea, lilies, and subtle silver-toned greenery create a calm, refined look that pairs well with candlelight.
If you want a centerpiece that works for any holiday, neutral winter flowers are your best option. White, cream, soft green, and natural textures feel seasonal without being tied to a specific celebration. This approach works especially well if you are hosting multiple gatherings.
When selecting flowers, keep scale in mind. A DIY holiday flower centerpiece should feel full but not tall. Low, wide arrangements keep the table functional while still making an impact.
Once you have your flowers and supplies ready, the actual arranging process is easier than most people expect.
Step by Step: How to Make a DIY Holiday Flower Centerpiece
Once everything is prepped, the arranging part is where things get fun. Do not overthink it. A DIY holiday flower centerpiece is meant to feel organic, not rigid.
Step 1: Prep your container
If you are using floral foam, soak it fully in water before placing it in your container. If you are using a vase or bowl, fill it with fresh water. Make sure your container is stable and low enough for table conversation.
Step 2: Build a greenery base
Start with greenery first. Insert stems around the edges and across the center to create a loose framework. This gives your DIY holiday flower centerpiece shape and fullness right away.
Step 3: Add focal flowers
Place your largest or most eye catching flowers next. Space them evenly instead of clustering them all in one spot. This helps the arrangement feel balanced and intentional.
Step 4: Fill and balance
Add smaller blooms and secondary flowers to fill gaps. Turn the arrangement as you work so it looks good from every angle. This matters more than people realize for a holiday table.
Step 5: Final adjustments
Trim any stems that feel too tall. Adjust spacing. Step back and look at the arrangement as a whole. A DIY holiday flower centerpiece should feel relaxed and natural, not stiff or crowded.
Creative Holiday Centerpiece Ideas to Try
If you want to switch things up or add personality, these ideas are easy to adapt.
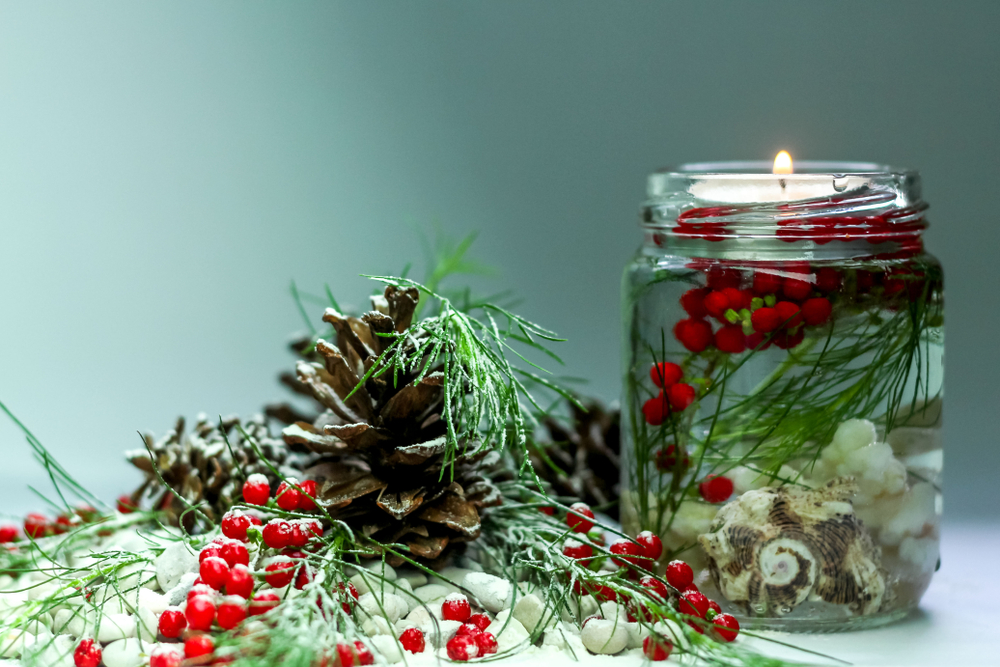
Candle and flower centerpiece: Mix low flowers with pillar or taper candles for warmth. Keep flames clear of petals and greenery.
Decorative container centerpiece: Use a pumpkin, ceramic bowl, wooden box, or seasonal dish as your base. It instantly adds character.
Minimalist vase centerpiece: One or two vases with a small grouping of flowers can be just as impactful as a large arrangement, especially for modern tables.
Mixed vessel table design: Use several small arrangements down the center of the table instead of one large piece. This works well for long tables and creates movement.
Each of these styles still counts as a DIY holiday flower centerpiece. The key is choosing what fits your space and hosting style.
Tips for Making Your Centerpiece Look Professional
A few small details can make a homemade centerpiece feel polished.
Keep it low: Aim for eye level or lower so guests can see each other comfortably.
Limit your color palette: Two to three main colors usually looks more cohesive than too many competing tones.
Use texture intentionally: Greenery, berries, and different petal shapes add interest without clutter.
Think about lighting: Candlelight and overhead lighting change how flowers look. Soft lighting tends to flatter winter arrangements.
A DIY holiday flower centerpiece does not need to look perfect. It just needs to feel balanced and thoughtful.
Conclusion: A Simple Centerpiece That Brings the Table Together
A festive table does not require complicated decor or professional skills. A DIY holiday flower centerpiece brings warmth, beauty, and intention to your gathering in a way few other elements can. It invites people to slow down, sit together, and enjoy the moment.
Whether you keep things simple or get a little creative, making your own centerpiece allows you to shape the mood of the table. With fresh flowers, a few basic supplies, and a relaxed approach, your DIY holiday flower centerpiece becomes more than decoration. It becomes part of the memory.
Sometimes the most meaningful details are the ones made by hand.